

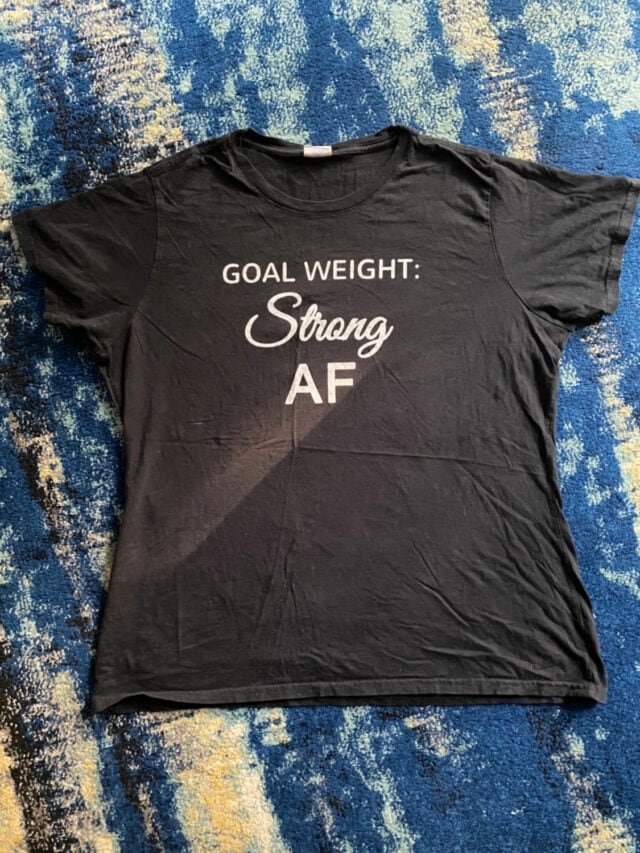
We all have those favorite t‑shirts — ones with cool graphics, sentimental value, or just perfect softness — but sometimes the basic cut just doesn’t flatter the way we’d like. Instead of tossing them or letting them sit buried in your drawer, a few simple no‑sew tweaks can transform basic tees into pieces you’ll actually wear with confidence. These ideas are quick, beginner‑friendly, and don’t require a sewing machine — just a sharp pair of fabric scissors and a bit of creativity.
✂️ 1. Shorten the Sleeves for a Softer Look
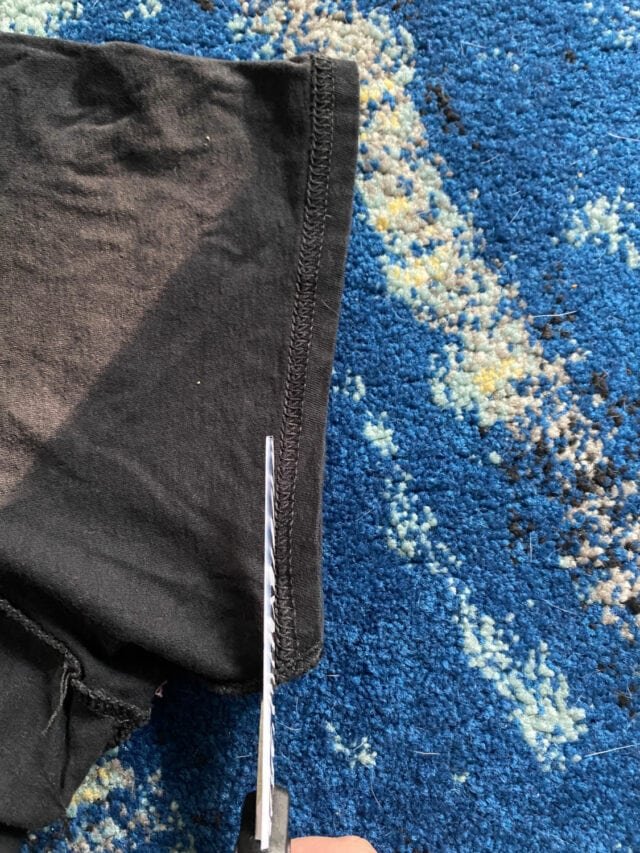
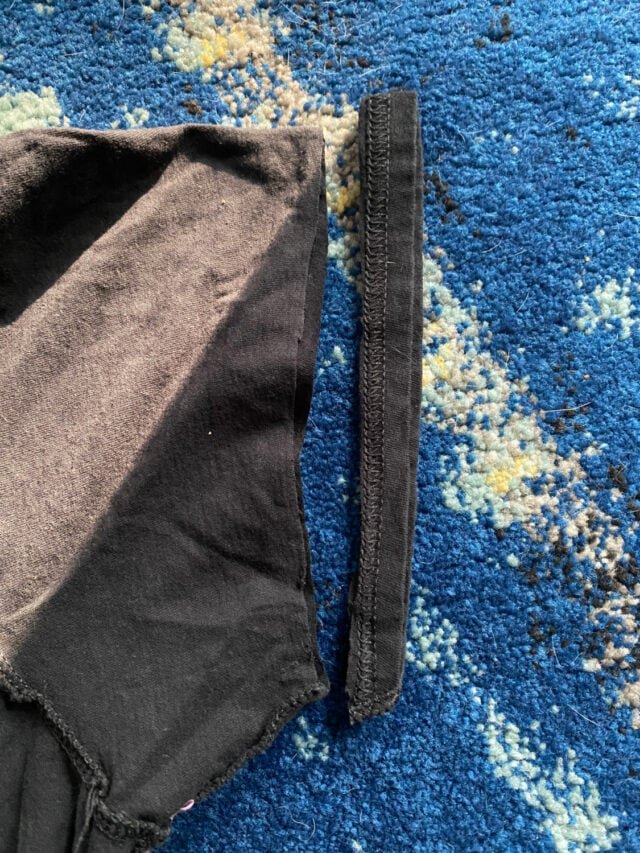
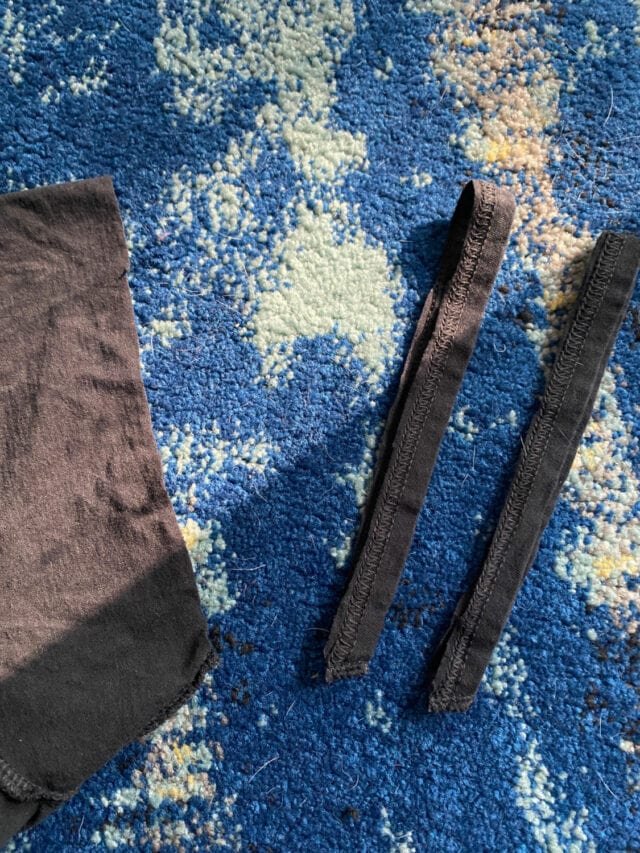
The most straightforward change you can make is to trim the sleeves. This instantly gives a tee a lighter, more feminine shape — especially helpful if the original sleeves feel too long or boxy. Simply snip off the hem seam and a bit of fabric above it. Because t‑shirt knit doesn’t unravel easily, the edge will curl naturally after washing, creating an effortless rolled finish.
Tip: Save those little sleeve loops — they make cute workout headbands!
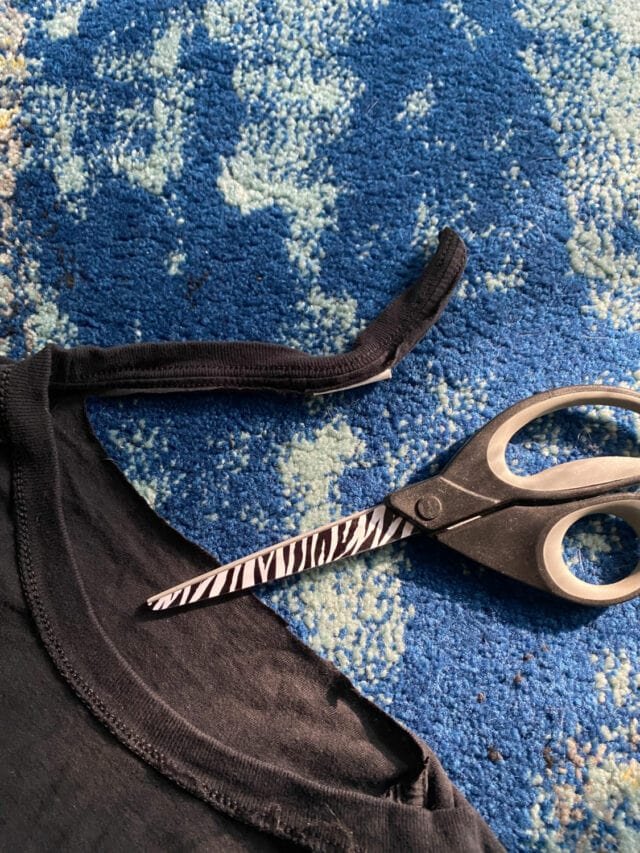
✂️ 2. Open Up the Neckline
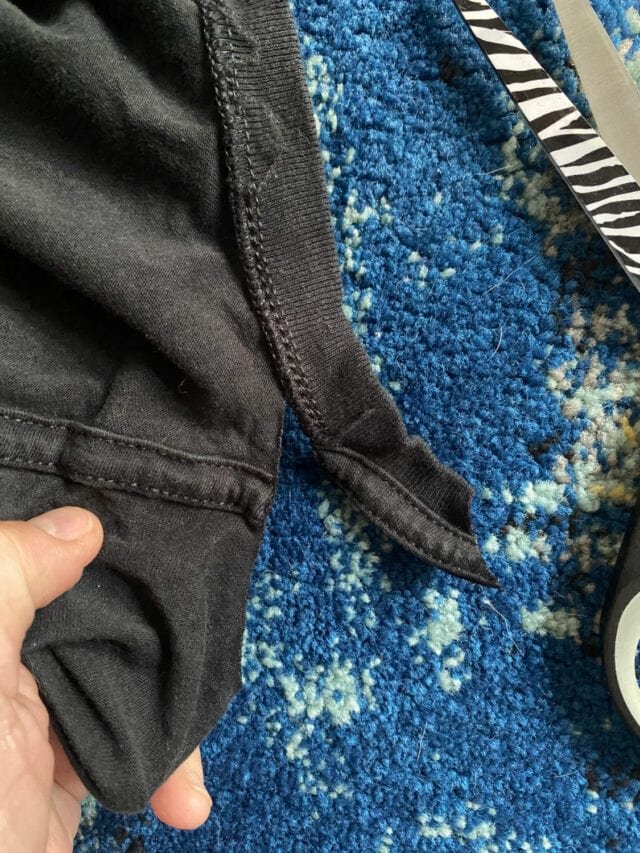
Most unisex tees come with a snug crew neck, which can feel too restrictive or plain. You can cut away the neckband to open up the neckline — this pulls the shirt into a more flattering profile without exposing too much. Turn the shirt inside out and carefully cut along the ribbed neck seam, then tug the edge so it curls a bit for a soft finish.
Once you’ve removed the band, you can experiment with making the neckline wider or giving it a slight scoop or V‑shape by trimming gradually and trying it on as you go.
✂️ 3. Reshape the Neckline Into Something New
If you want a different neckline — say a deeper scoop, a subtly curved V, or even an off‑the‑shoulder look — go slow and keep trying the shirt on after each tiny snip. Start with the shirt of, mark lightly with chalk or soap where you want to trim, and then cut just outside the mark. Because the edge curls after washing, small cuts make a big difference in how the final shape reads.
This method lets you tailor the neckline to your style — from subtly more open to relaxed and wide — all without stitching a single seam.
✂️ 4. Adjust the Hem: Crop It or Shorten It
Basic tees sometimes feel too long or shapeless, especially if they bunch around the hips. You can shorten the hem by laying the shirt flat, marking the desired length with chalk or a ruler, and trimming across. Because knits naturally curl at cut edges, cutting a little conservatively usually gives you a nice rolled hem without finishing.
If your shirt feels snug around the waist, simply removing the hem can loosen it and give the shirt a more relaxed drape — perfect for tucking into jeans, skirts, or even tying at the front.
✂️ 5. Make It Sleeveless
Turning a tee into a sleeveless top can create a sportier or more summery silhouette. Cut right along the shoulder seam, removing the sleeve and its seam allowance in one smooth line. For this modification, a shirt that’s one to three sizes larger than your usual fit often works best, because the armholes will be larger and more drape‑friendly. Pair it with a cami or bralette underneath if you want extra coverage.
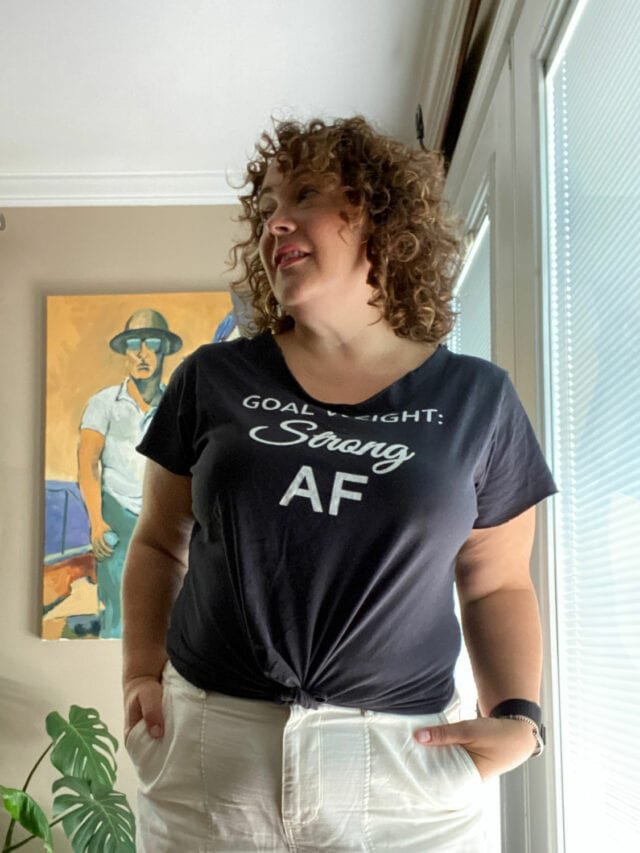
🤝 Bonus Tip: Tying Without the Bulky Knot
We’ve all tried tying a tee at the waist only to end up with a weird lump of fabric sticking out. A simple trick makes the front knot lie much flatter and look intentional: create two “tails” at the hem, then tie them together instead of using one big loop. After washing, the shirt naturally returns close to its original shape — so this trick works whether you’re planning a one‑time look or want a long‑term tweak.
If you know you’ll frequently wear a tee tied, you can cut the bottom center up about three inches before tying — giving you more fabric to work with and a more stylish knot every time.

🧠 Final Tips Before You Start
- Go slow and cut conservatively. You can always trim more later, but you can’t un‑cut fabric.
- Practice on thrifted tees first. Try these techniques on shirts you don’t mind experimenting with before you alter your favorites.
- Try on often. Cut a little, try it on, tug it, wash it — and then decide if you need more changes.
No‑sew DIY modifications make it easy to refresh your wardrobe without sewing skills, creative tools, or complicated patterns — just some scissors, a bit of confidence, and the willingness to play with your clothes.
